The IP address 192.168.8.1 is commonly used by routers and other network devices as a gateway or default access point to a local network such as a home, business or school. This type of IP address, known as a private IP address, is assigned to each device connected to the router for communication on the local network and/or the internet. When a device is assigned this address, it can communicate with other devices that have a private IP address and access resources on the local network such as shared printers, file servers and other services. Additionally, when connected to the internet, devices behind 192.168.8.1 will be accessible from the outside world via port forwarding
How to Login 192.168.8.1
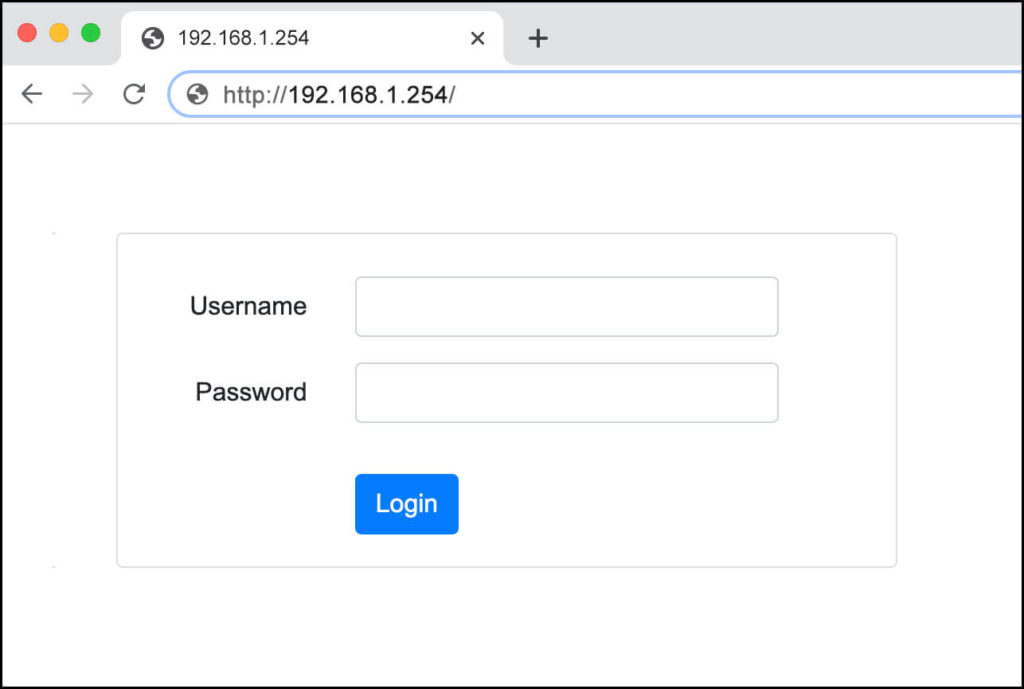
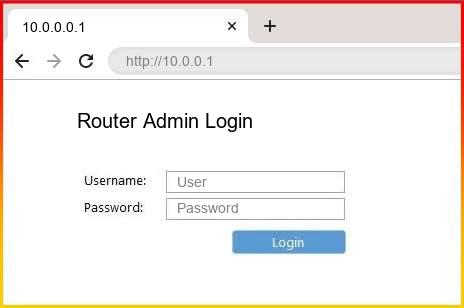
- First, you need to open a web browser and type in the IP address 192.168.8.1 into the address bar
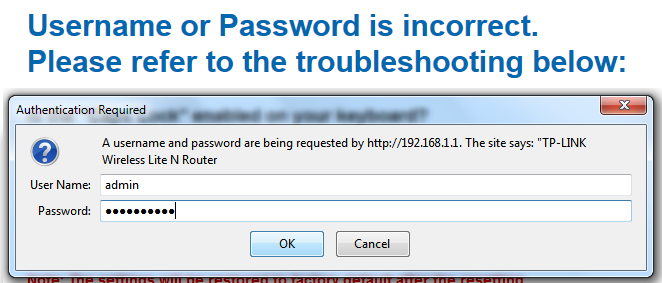
- Next, you will be asked to enter the username and password associated with your router
- If you don’t know this information, you may need to look up your router’s manual or contact your internet provider
- Once you have entered the login credentials, you should be able to access your router settings
How to Change Router Wifi Password
- Once you have logged in, navigate to the “Wireless” or “WiFi” section of your router settings
- Then, find the option to change your password and enter a new one that is secure and easy to remember
- Make sure to click on the “Save” or “Apply” button for the changes to take effect
- Finally, you can log out of your router settings and the new password should now be active
Troubleshooting 192.168.8.1 Login Issues
- If you are unable to access the router settings, it may be due to an incorrect IP address. Make sure that you are using the 192.168.8.1 IP address
- If you’re still unable to login, try resetting your router by pressing and holding the reset button for 10-15 seconds
- If this doesn’t work, you may need to contact your internet provider for assistance
- Finally, if you’re still unable to login, make sure that the router is plugged in and that all cables are connected properly
Conclusion: Login issues with 192.168.8.1 can be frustrating, but following the steps described above should help you understand and troubleshoot them. It is important to remember that each router may have different settings and menus, so it’s best to refer to your manual or contact your internet provider for assistance if needed. With the right information and guidance, you should be able to login 192.168.8.1 with ease